The Maker's Master Workflow
The complete journey from digital file to physical masterpiece across CNC, Laser, and 3D printing.
Phase 1: File Selection
Choosing the right format for your machine is the foundation of success.
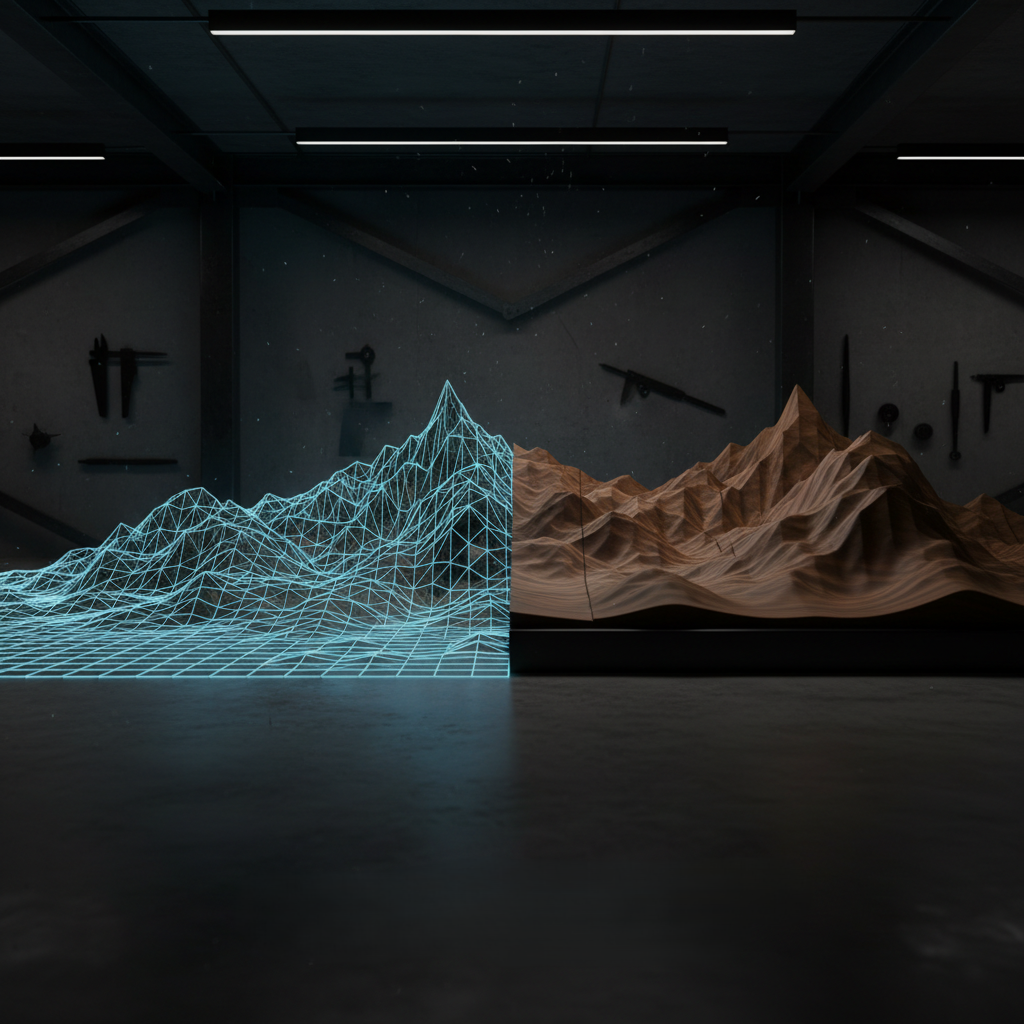
3D Mesh (STL/OBJ)
Best for 3D Printing and CAM-based CNC toolpathing (Fusion 360, VCarve). Captures absolute geometric volume.
Depth Map (PNG)
Ideal for Laser Engraving and Artistic CNC software (Carveco). Uses brightness to define height.
Vector (SVG)
Standard for laser cutting profiles and 2D CNC pocketing/profile paths.
Phase 2: Digital Prep
Every machine has a "Slicer" or "CAM" step. This is where you translate digital geometry into G-Code—the language of machines.
- • CNC: Set your Z-zero, select your bits, and calculate stepover.
- • Laser: Define your power/speed layers and interval.
- • 3D Print: Set layer height and support structures.
Phase 3: Material Execution
This is where the magic happens. Whether it's the additive layers of a 3D printer or the subtractive carving of a CNC, the quality of your finish is determined by your preparation.
"Always run a small test carve or print. 5 minutes of testing saves 5 hours of regret."
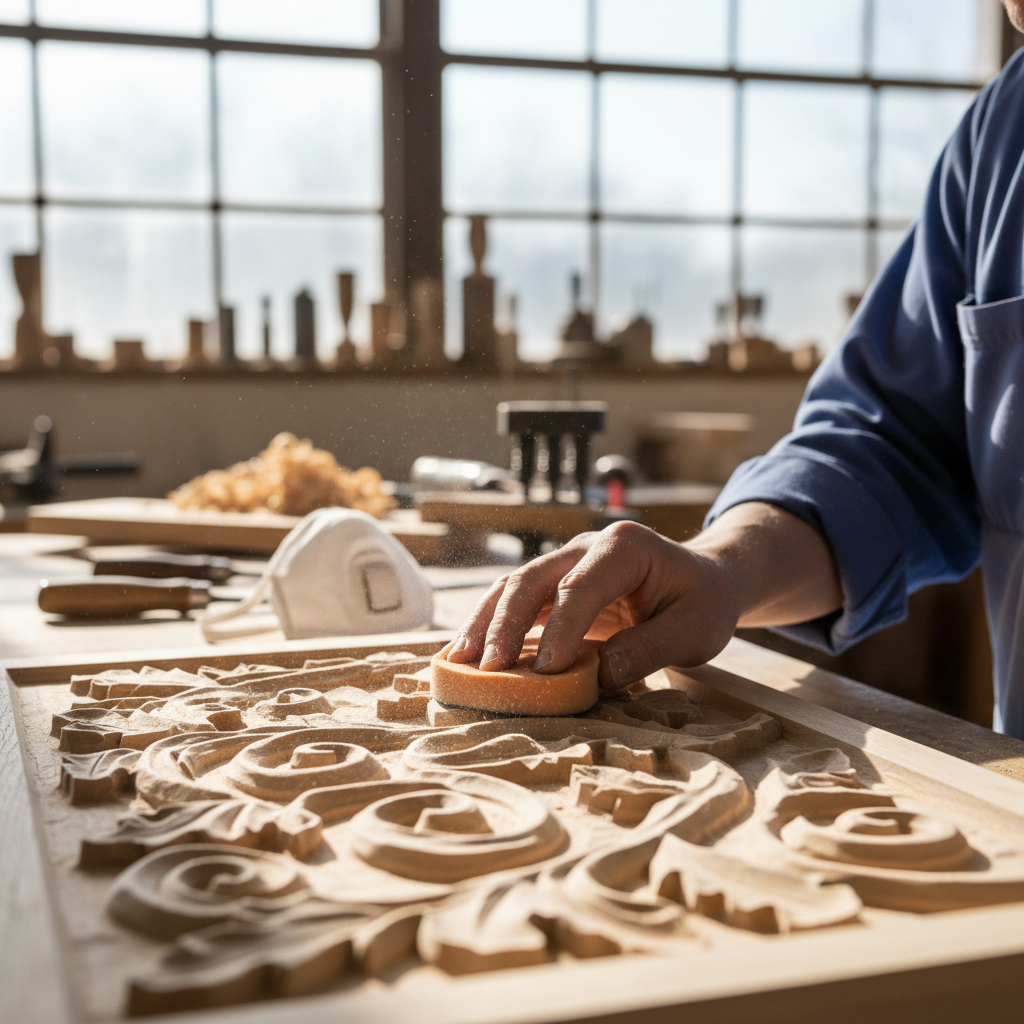
Phase 4: Post-Processing
Subtractive (CNC/Laser)
- • Sanding: Start at 120 grit, work up to 320 for reliefs.
- • Cleaning: Use compressed air and tack cloths to remove dust.
- • Finish: Oils (Osmo/Rubio) highlight 3D depth beautifully.
Additive (3D Printing)
- • Support Removal: Use flush cutters for clean detachment.
- • Post-Processing: Sanding or heat-treating for surface smoothness.
- • Priming: Filler primer is essential if you plan to paint.
Continuing Your Education
Great makers never stop learning. Check out these community hubs for deeper dives into specific workflows.